Building A Worm Bin
If you are just starting out as a worm farmer, building a worm bin cheaply from locally sourced materials is the smart thing to do.
About the quickest and cheapest "construction" involves the simple plastic tote. These come in many sizes which you can match to your food-waste generation. Cost runs between $10-15 at the big box stores. An electric drill is the only equipment you'll need to complete the project.
Your bin should be started a least a week prior to ordering your worms. Why? Because it gives the
microbes, which are what the worms eat, time to multiply in the bedding.
Step 1 First week-.
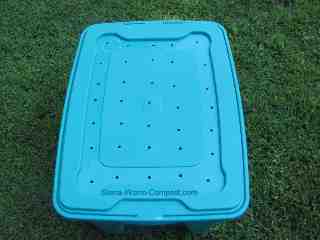
I advise using an electric drill, but a heated ice pick will do in a pinch. Use with caution! Using a 1/4 inch drill bit, make multiple air holes in the tote lid.
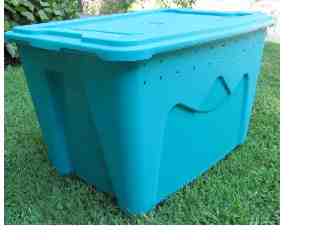
Step 2. Do the same for the bin under the lip on all four sides as shown.
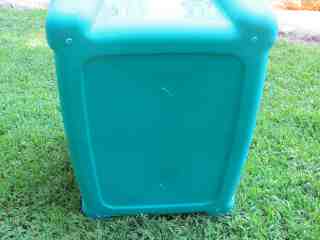
Step 3. On the lowest points of the bottom, drill a hole in each corner for drainage.
Step 4. That finishes the structural changes to the tote, but we're not quite finished building a worm bin.
Constructing the Bedding Layer
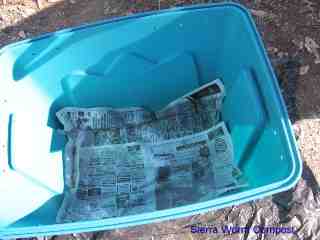
Now I'll focus on what goes into the bin. Spread a full sheet of damp newsprint over the floor of the bin. This allows for some excess moisture to be be absorbed.
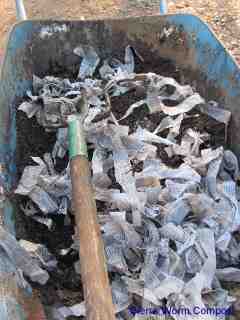
Step 5. Into a separate bucket or wheelbarrow, tear approximately 3-4 pounds of dry newsprint into 1/2 inch strips. [ TIP: There is only side in which the paper will tear evenly.]
It may seem like a lot, but once the paper is dampened,its volume reduces by half. You can use a paper cutter as long as it does not cut too fine. Very small or cross-cut paper tends to mat together when wet. Keeping the paper loose and fluffy is the goal.
When you're finished, use a spray bottle to moisten. Using a spray bottle prevents using more water than you need. Mix a couple of cups of moist garden soil or damp,aged, horse manure into the shredded paper. This introduced microbes to inoculate the paper. Because worms have not teeth, they need some grit. Adding a 1/3 cup of fine sand to the bedding will help them "chew" their food.
Test a handful of this mix to see if any water can be squeezed out. If not, then it's ready to be put into the bin. Add more dry paper if it's a little too wet.
Step 6.
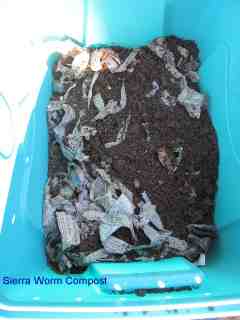
In building a worm bin, no matter what kind or size of container is used, you will need approximately 6 inches of bedding in the bin.
Any leftover bedding mix can be kept damp and used to cover each addition of food. Doing this will keep flies and gnats to a minimum, if not entirely out of the bed.
If you order your worms before June,in colder climates, you will need to keep the bin where it is a little warmer than the outside temperature to speed up microbial growth in the bedding.
Adding Worms and Feed
Step 7. Second Week
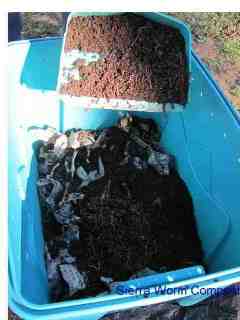
As soon as your worms arrive, spread them evenly over the bedding. A light misting of water will help, if they look a little sluggish.
To force the worms into the bedding, leave the lid off for a few minutes in a lighted area, but out of direct sunlight. When there are no worms on the surface, put the lid on and place the bin in a dark area away from extreme temps for a week.
This lets the worms acclimate themselves to their new environment. It is an important step in successfully building a worm bin.
Do not feed until the following week.
Step 8. Third Week
You have been saving your food scraps, right? Good. (If your waste gets ahead of what the worms can eat in a week, stick the excess in the freezer for later feedings.)
Now it's time to feed your new squirm. The cardinal rule here is GO S-L-O-W. Do not leave the scraps in a pile, but spread it out in a thin layer in just one area. Never completely cover the whole surface when using a plastic tote.
Cover each addition of food with some or all of the bedding materials.
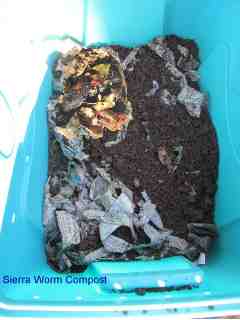
Looking at one end of the bin, this is what the feeding layers will look like if food is layered in half sections.
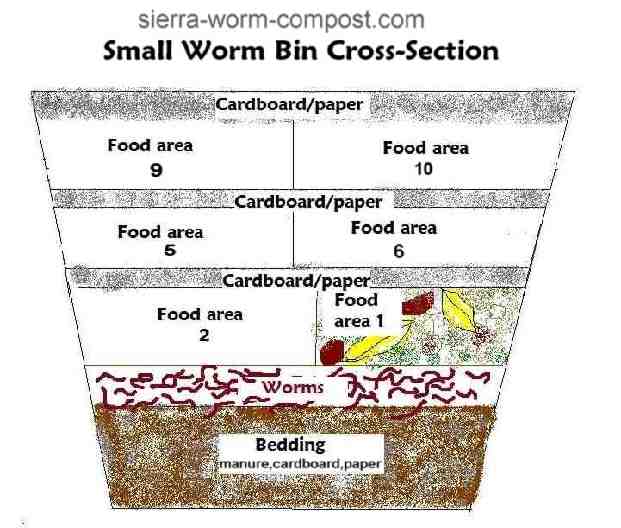
And that's all there is to building a worm bin. If you are having problems with your bin, you may want to check out
this page. If your problem is not addressed there,
don't hesitate to contact me.
Back to Top...
Serving No. Calif counties of El Dorado, Nevada, Placer and Sacramento.
Copyright 2010-2012 Sierra Worm Compost.com
All Rights Reserved


New! Comments
Leave a comment in the box below.